
How To Survive A Kitchen Remodel
Written by Anne-Marie Nash
You’ve picked out new appliances, made your all your paint and accessory selections, hired your designer/contractor and have a start date! Congratulations! – you’ve made one of the best decisions of your life, and with a little planning, an occasional glass of wine, remodeling a kitchen can even be, sort of, fun. Think of it as an adventure – that’s a good place to start!
PLAN AHEAD

Reality Check
You will be without a kitchen for approximately 10 to 12 weeks! The absolute minimum is about 8 weeks, but plan for 12-14 weeks if your project is large, complicated or unforeseen problems pop up – which, quite frankly, will be the case approximately 70% of the time.
Give yourself as much time as possible to;
Pack up you kitchen
Plan a vacation or two
Move out (if that’s a viable option)
But if you need to stay… designate a room to set up a makeshift kitchen
2. PLAN AHEAD

If you have or can borrow an RV, consider moving in short term or even better, plan a vacation during the messiest parts of the remodel!
Plan your exit strategy.
The reality of living day in and day out in a construction zone is grueling. It’s loud, it’s dirty, quality of life can suffer, and, family life can get difficult. So, if you can, move out during the entire construction time.
A few places to go:
Move in with a relative or good family friend
Get set up in an extended stay residence hotel
Stay in your RV or rent or borrow one from a friend
Arrange long-term house-sitting
3. IF YOU MOVE OUT OR STAY

Get in sync with your inner Marie Kondo.
This is the perfect time to declutter and weed out your kitchen of duplicated, outdated or useless items that you’ve acquired over time. Ask yourself… does it sparks joy? If no, let it go :) And then, and only then, start packing.
Get some sets of banker boxes with lids, so if needed, contents can be accessed. Most likely you will stack your boxes, so label them on the sides so you can quickly see what’s in them.
4. BUT IF YOU NEED TO STAY
3 suggestions to make this process manageable as possible:
Designate a room (basements and bonus rooms are ideal) to set up a makeshift kitchen and eating area
Identify a water source where you can wash fruit, veggies and dishes
Time a few vacations to coincide with the remodel; perhaps during demolition, the messiest part
5. CREATE A MAKESHIFT KITCHEN
This goes without saying, but definitely keep things simple. Don’t forget to add take-out food and a few restaurant meals to your budget. I strongly suggest you get familiar with the prepared food section at your local market; it’s convenient and tends to be a lot less expensive than a trip through the drive-thru!
A few basics you’ll need in setting up your makeshift kitchen:
Refrigerator – many people have a second refrigerator in their garage or pantry – so no problem here, otherwise invest in a dorm-sized or mini fridge
Electric tea kettle, coffee maker
A blender is optional, but you may need a margarita during all this, so in that case, it’s required ;)
Your gas grill or Traegar can definitely be your friend at this time
Microwave
Toaster and/or Toaster Oven
Storage space for dry foods / spices
Dishes and Flatware
Have paper goods on hand, but definitely try to be as earth-friendly as possible, and use real dishes as often as possible.
Allow for 1 set for each family member (large and small plate, bowl, mug, glass, cutlery)
Train everyone to wash their own dishes after each meal. This will help to keep things tidy.
Remember to keep out your pet food, feeding bowl and water bowl/s
Basic prep tools like:
Basic knives - carving knife, bread knife, couple steak knives
A cutting board or two
2-3 serving bowls in various sizes, don’t forget a few serving utensils!
2-3 platters
And do not forget…
2-4 wine glasses
A few bottles of nice wine and/or microbrew
Wine opener/bottle opener
And voila! You’re set.
6. KEEP THINGS IN PERSPECTIVE.
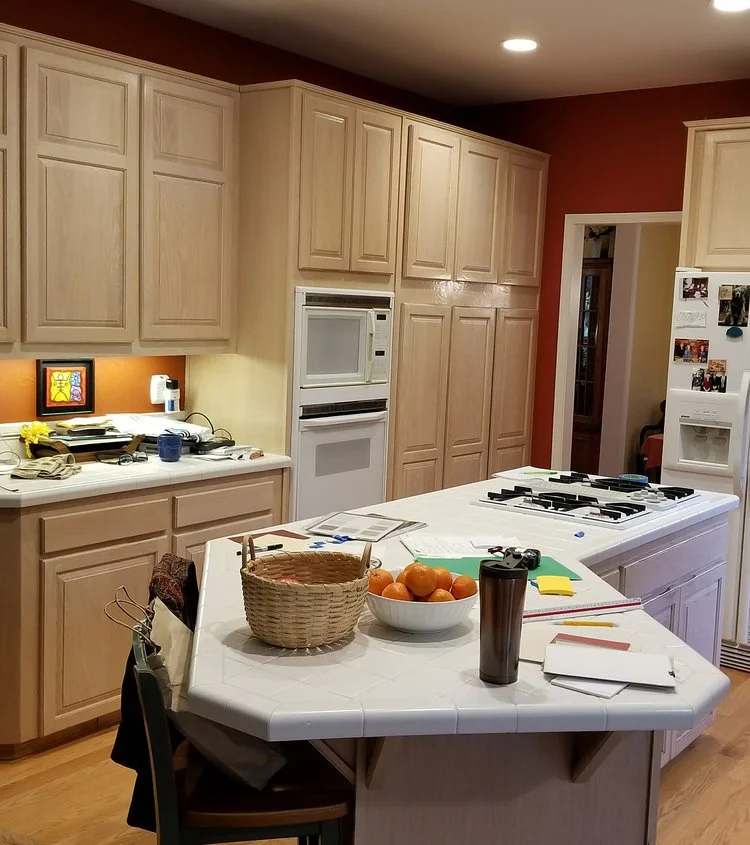
KITCHEN BEFORE
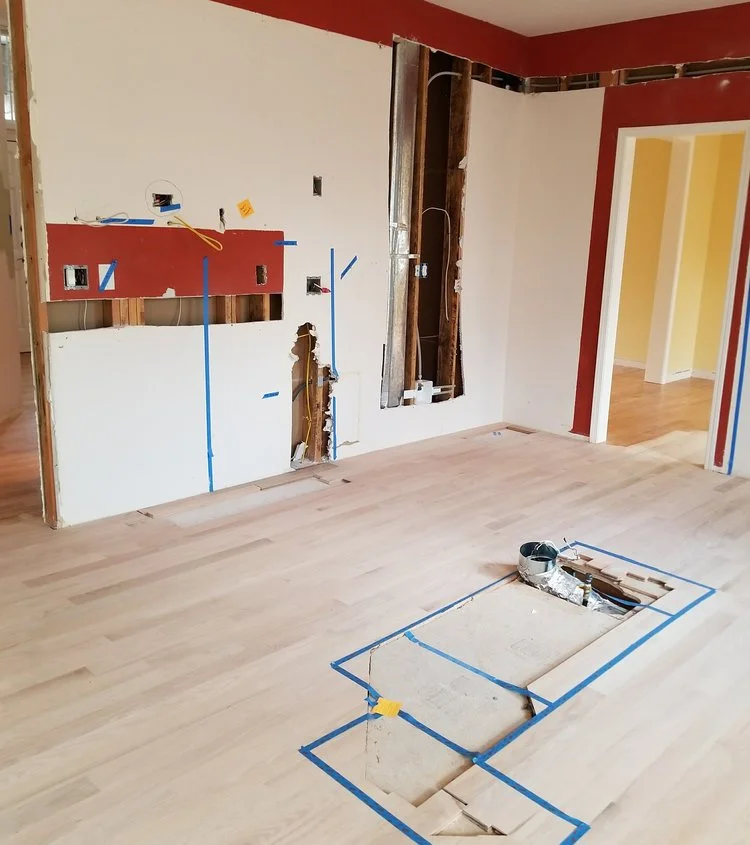
KITCHEN DURING
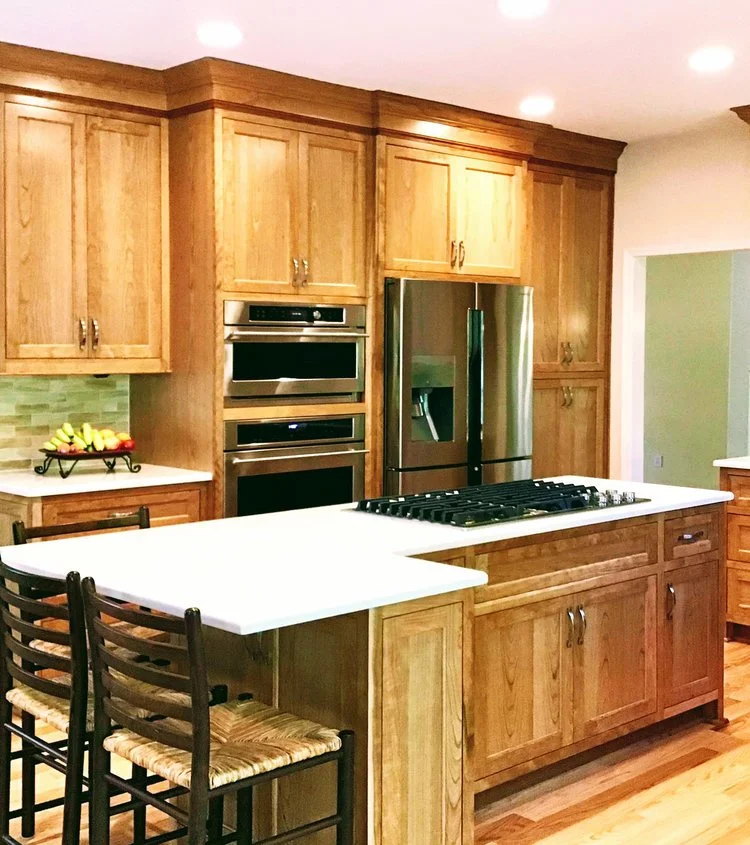
KITCHEN AFTER
My last and most important piece of advice… keep things in perspective. The process will be intrusive, noisy and a little dusty…. and the process can become tedious – BUT – the problems will get solved, the work will be done and in the end you will have a FABULOUS new kitchen.
Keep your eye on the prize – a space that is lovely to look at, a joy to cook in and a stylish base to entertain family and friends. It will also increase the quality of your life and the value of your home. How great is that?